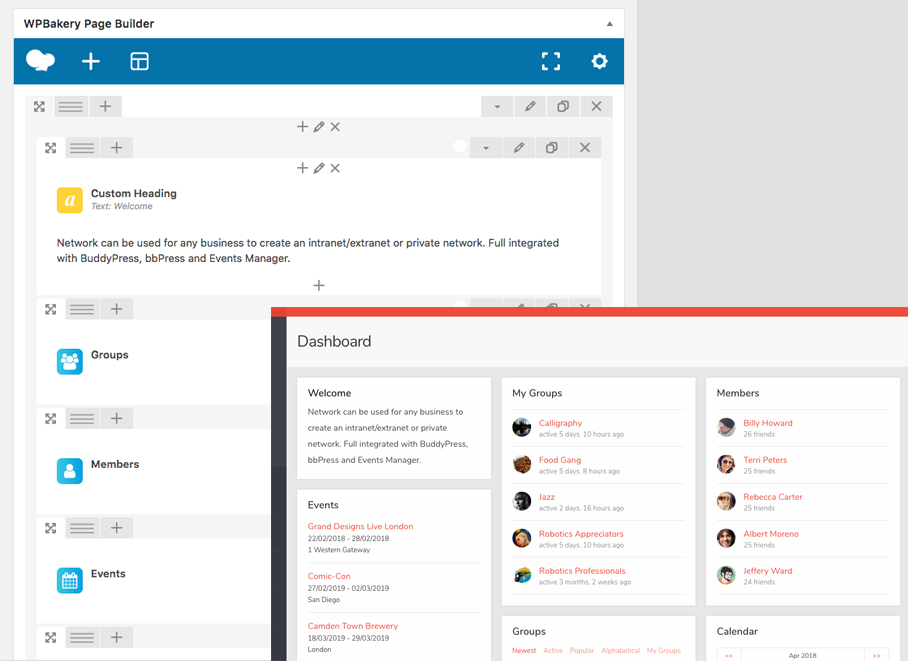
The Row element is a default WPBakery Page Builder element. Aardvark adds a number of additional options to extend the functionality of the Row element.
Animated Backgrounds
Step 1: Create or edit and a page and click the Backend Editor button.
Step 2: Click the Add Element button to open the Add Element window and select the Row element.
Step 3: Click the grey pencil icon to open the Row Settings window.
Step 4: Click the Design Options tab and upload a background image. You can leave this empty to just add a gradient background color.
Step 5: Check the Animated Background box and from the Type dropdown menu choose from the following options:
| Type | What does it do? |
| Scrolling Gradient | The gradient background colors will scroll across the page. You can set four gradient colors. Reduce the opacity of the colors so the background image can be seen through the gradient. |
| Scrolling Image | The background image will scroll across the page. You can set four gradient colors. Reduce the opacity of the colors so the background image can be seen through the gradient. |
| Static Gradient | Set a gradient backgorund that does not scroll. You can set four gradient colors. Reduce the opacity of the colors so the background image can be seen through the gradient. |
Step 6: Click Save Changes when you’re finished.
Masonry Support
Step 1: Create or edit and a page and click the Backend Editor button.
Step 2: Click the Add Element button to open the Add Element window and select the Row element.
Step 3: Click the grey pencil icon to open the Row Settings window.
Step 4: Check the Masonry Support box and click Save Changes.
Step 5: Click the + icon within the row to open the Add Element window and select the Row element again. Every row you add within the main row will be treated as a masonry item.
Step 6: Add one or more elments within each inner row to display you content in a masonry format.
